How to Prevent Ice Dams: Roof Rakes, Attic Fixes and Heat Cables for Midwest Homes

This page may contain affiliate links. Some links on this site may be affiliate links, and we may earn a commission from affiliate programs at no extra cost to you. As an Amazon Associate I earn from qualifying purchases.
Quick answer: Why ice dams form, how to rake a roof safely, the calcium chloride trick, attic air sealing and insulation fixes, and when heat cables make sense. This guide covers: Why ice dams form; Signs you have an ice dam (or are about to); What to do this weekend: the short-term fixes; The long-term fix: keep the attic cold.
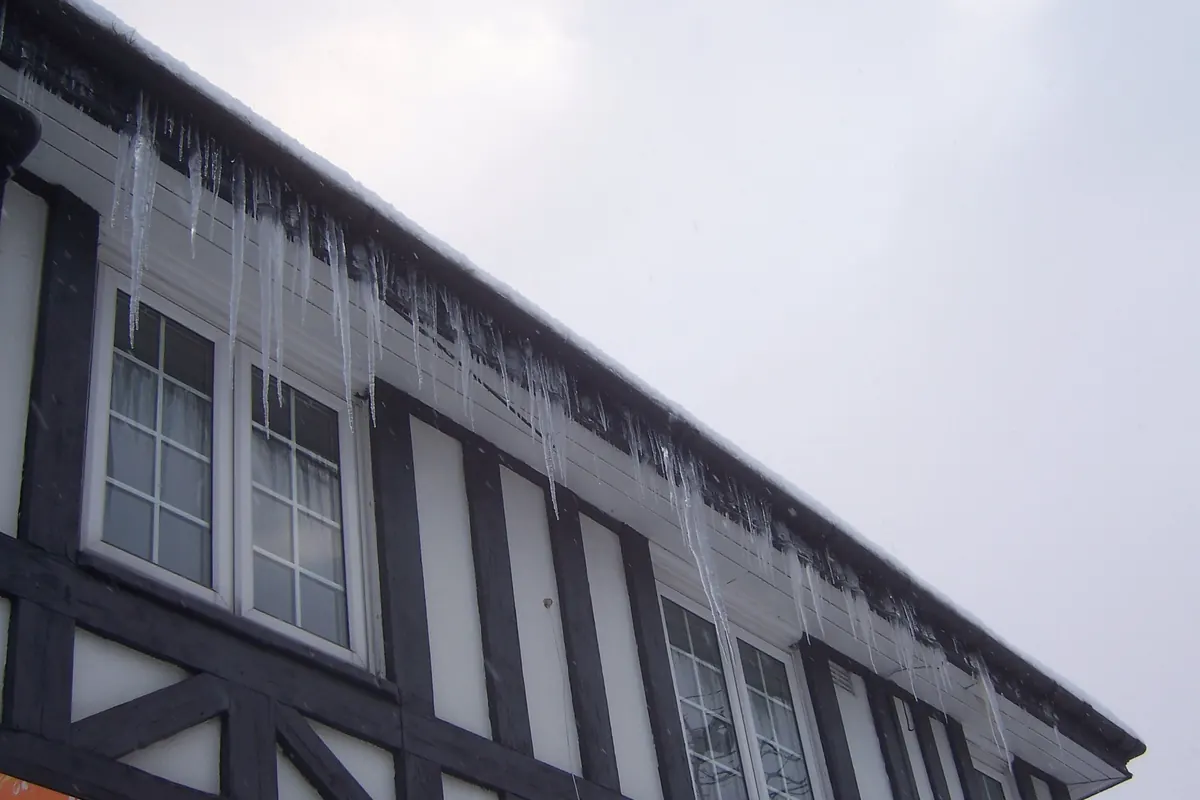
Every Midwest winter has a stretch when the eaves sprout a row of icicles and a thick ridge of ice forms along the edge of the roof. That ridge is an ice dam, and it is more than a cosmetic problem. Water from melting snow backs up behind the ice, works its way under shingles and can drip into attic insulation, ceilings and walls. For a first-time homeowner, the first water stain on a bedroom ceiling in February is an unpleasant surprise. This guide explains why ice dams form, what you can do this weekend to lower the risk, which tools are worth owning, and when it is time to call a professional.
Why ice dams form
An ice dam needs three things: snow on the roof, a roof surface that is warmer than freezing over the living space, and a roof edge (the eave or overhang) that stays below freezing. Heat escaping from the house into the attic warms the upper roof deck. Snow there melts from underneath, the water runs down the slope, and it refreezes when it reaches the cold overhang. Over days of freeze and thaw the ridge of ice grows, and the next round of meltwater pools behind it.
That is why ice dams are mostly a heat-loss problem, not a gutter problem. Clean gutters help water drain during thaws, but the real causes are usually warm air leaking into the attic, thin or uneven attic insulation, and poor attic ventilation that lets the roof deck warm up.
Signs you have an ice dam (or are about to)
- **A thick ridge of ice along the eaves** rather than just a few thin icicles. - **Large icicles hanging from gutters or the roof edge**, especially over a heated room rather than an unheated garage or porch. - **Snow melting in patches** on the upper roof while the rest of the neighborhood's roofs stay white. Patchy melt often shows where heat is escaping. - **Water stains, peeling paint or damp spots** on ceilings and exterior walls, or frost and wet insulation in the attic.
What to do this weekend: the short-term fixes
**Rake the roof after heavy snow.** Pulling the first few feet of snow off the roof edge after each significant storm removes the fuel for an ice dam. Work from the ground with a long-handled roof rake, pull snow down in small sections, and stay out from under the falling snow. Leave a thin layer rather than scraping down to the shingles, which can damage them. Never climb onto a snowy or icy roof, and keep every rake, ladder and pole well clear of overhead power lines, including the service line running to your house.
**Melt drainage channels with calcium chloride.** If a dam has already formed, a common homeowner fix is to fill an old nylon stocking or a purpose-made ice-melt sock with calcium chloride ice melt and lay it across the dam so it melts a channel that lets trapped water drain. Do not use rock salt (sodium chloride) on the roof; it can harm shingles, gutters, siding and the plants below. Read the ice-melt bag for any roofing or metal warnings before you use it.
**Do not chip at the ice.** Hammers, hatchets and shovels used on a roof edge are a fast way to crack shingles, dent gutters and get hurt. If water is actively coming inside, a professional ice dam removal service that uses low-pressure steam is the safer route.
**Keep gutters and downspouts flowing.** Clear leaves before the first hard freeze and make sure downspouts discharge away from the foundation, so meltwater has somewhere to go during thaws.
The long-term fix: keep the attic cold
The lasting cure for ice dams is a cold roof deck, which means keeping house heat out of the attic.
- **Air seal first.** Warm air sneaks into the attic through gaps around ceiling light fixtures, plumbing and vent pipes, chimney chases, top plates of interior walls and the attic hatch. Sealing those gaps with caulk, spray foam and a weatherstripped, insulated hatch cover is often the most cost-effective step. Use fire-rated products and the proper clearances around chimneys, flues and recessed lights; check the product label and local code. - **Add insulation where it is thin.** Look for low spots, compressed batts and bare areas near the eaves. Energy Star and the US Department of Energy publish recommended attic insulation levels by climate zone, and much of the Upper Midwest falls in the colder zones with the highest recommendations. - **Check attic ventilation.** Soffit vents low on the roof and ridge or roof vents up high let cold outside air move under the roof deck. Make sure insulation is not blocking the soffit vents; baffles (rafter vents) keep a channel open. - **Find the hot spots.** An inexpensive infrared thermometer or a thermal camera can show where ceilings and attic floors are losing heat on a cold day. Bath fans and dryer vents should exhaust outdoors, not into the attic.
Many Midwest utilities offer home energy audits, sometimes at a discount, and some offer rebates for air sealing and insulation. It is worth checking your gas or electric utility's website before you hire a contractor. If you are also chasing cold drafts indoors, our smart thermostat and energy-saver guide covers other ways to cut heat loss.
What about heat cables?
Roof and gutter de-icing cables run in a zigzag along the roof edge and through gutters and downspouts to keep drainage paths open. They can help on trouble spots such as a valley over an entry or a low-slope section, but they treat the symptom rather than the cause and use electricity while they run. Follow the manufacturer's installation instructions exactly, plug them into a GFCI-protected outdoor outlet, never use indoor extension cords, and remember they must be installed before the snow comes. Consider them a targeted tool after air sealing and insulation, not a replacement for them.
Tools worth owning
We have not hands-on tested these products. These are common product types, described by the features their makers publish. Affiliate links for this guide are coming soon; in the meantime, local hardware stores across the Midwest stock all of them.
Telescoping roof rake
A lightweight aluminum or fiberglass pole with a wide blade for pulling snow off the roof edge from the ground. Brands such as Snow Joe and Garelick sell models with extension sections that reach roughly 20 feet; check the published reach against the height of your eaves, and look for a blade with rollers or a non-abrasive edge that is easier on shingles. Fiberglass or non-conductive poles are a good choice, but no pole is safe near power lines.
Calcium chloride ice melt and ice-melt socks
Calcium chloride pellets work at lower temperatures than rock salt and are the usual choice for melting a drainage channel through an ice dam. Some brands sell pre-filled roof socks; an old nylon stocking filled with pellets does the same job. Check the bag for roofing and metal warnings.
Roof and gutter de-icing cable kit
Pre-assembled cable kits sold by brands such as Frost King and Easy Heat come in fixed lengths with clips for shingles and gutters. Measure the roof edge, gutters and downspouts you want to cover, follow the published layout pattern, and plug into a GFCI outdoor outlet.
Infrared thermometer or thermal camera
A point-and-shoot infrared thermometer or a phone-attached thermal camera helps you find warm spots on ceilings, attic hatches and walls on a cold day, so you know where to air seal first.
Insulated attic hatch cover and weatherstripping
A foam or insulated cover for an attic hatch or pull-down stairs, plus foam weatherstripping around the frame, closes one of the most common air leaks into the attic.
The bottom line
Rake the first few feet of snow off the roof after big storms, use calcium chloride (never rock salt) if a dam forms, and keep gutters draining. Then spend the money where it lasts: air seal the attic, top up insulation and keep soffit vents clear so the roof stays cold. While you are prepping the house for winter, see our frozen pipes prevention checklist, the snow blower guide for Minnesota driveways and our winter storm and power outage prep guide.
Frequently asked questions
What causes ice dams on a roof?
Heat escaping from the house warms the upper roof, melting snow from underneath. The water runs down and refreezes on the colder roof edge, building a ridge of ice that traps more meltwater behind it.
Should I use salt to melt an ice dam?
Not rock salt. Rock salt (sodium chloride) can damage shingles, gutters, siding and plants. Homeowners usually use calcium chloride ice melt, often in a nylon stocking or ice-melt sock laid across the dam to melt a drainage channel.
Is it safe to remove snow from my roof myself?
Raking from the ground with a long-handled roof rake is the usual approach for homeowners. Do not climb onto a snowy or icy roof, stay out from under falling snow, and keep the rake far away from power lines, including the line to your house.
Do heat cables prevent ice dams?
Roof and gutter de-icing cables can keep drainage paths open in trouble spots, but they treat the symptom rather than the cause. Air sealing and insulating the attic so the roof stays cold is the long-term fix.
Do gutters cause ice dams?
Not by themselves. Ice dams form because of heat loss into the attic. Clean, free-flowing gutters help meltwater drain during thaws, but a gutter full of ice is usually a sign of the underlying heat-loss problem.